
Welcome to the journey of parenthood! As a new mother, one of the essential tasks you’ll quickly become familiar with is diapering your baby. While it may seem daunting at first, mastering the art of diapering is crucial for keeping your little one comfortable, happy, and healthy. In the first three months, your baby will go through numerous diaper changes, and understanding the best practices can make this routine task much smoother for both of you.
In this comprehensive guide, we’ll walk you through everything you need to know about diapering in the early months. From choosing between disposable and cloth diapers to mastering diaper-changing basics and preventing diaper rash, we’ve got you covered.
We’ll also provide practical tips for diapering on the go and explore eco-friendly options for environmentally conscious parents. Plus, you’ll find a helpful weekly diapering chart to guide you through your baby’s needs during these initial months.
Let’s dive in and make diapering a breeze, ensuring your baby stays clean, dry, and comfortable.
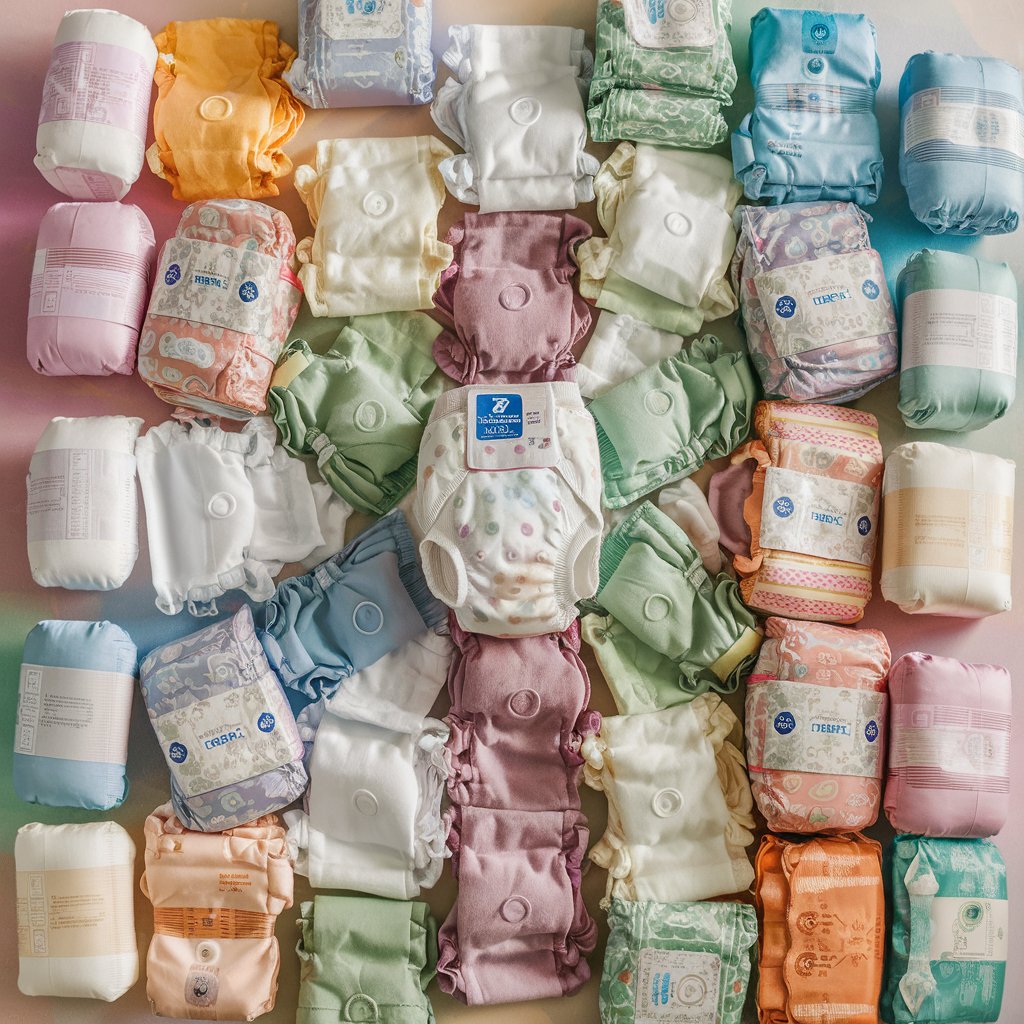
Choosing the Right Diapers (Disposable vs. Cloth)
Disposable Diapers
- Convenience: Disposable diapers are incredibly convenient, especially for new parents adjusting to a busy schedule. They are easy to use and dispose of, making them ideal for quick changes.
- Absorbency: High absorbency levels help keep your baby dry and comfortable, reducing the risk of diaper rash.
- Cost: While they are convenient, the cost can add up over time. However, many parents find the convenience worth the expense.
- Environmental Impact: Disposable diapers contribute to landfill waste. Some brands offer eco-friendly options made from more sustainable materials, though they are still not as environmentally friendly as cloth diapers.
Cloth Diapers
- Cost-Effective: Though the initial investment is higher, cloth diapers can save money in the long run since they are reusable.
- Environmental Impact: Cloth diapers are more environmentally friendly as they reduce waste. They can be washed and reused multiple times.
- Variety: Available in various styles, including pre-folds, fitted, and all-in-ones, giving you flexibility to find what works best for your baby.
- Laundry: Requires regular washing and maintenance, which can be time-consuming. You’ll need to consider the cost and effort of laundering them.
Eco-Friendly Diapering Options
- Biodegradable Diapers: Some brands offer biodegradable disposable diapers made from more sustainable materials. These break down faster than traditional disposables.
- Organic Cloth Diapers: Made from organic cotton or bamboo, these are eco-friendly and gentle on your baby’s skin.
- Hybrid Systems: Combine reusable covers with disposable inserts, offering the convenience of disposables with the reduced waste of cloth.
- Washing Practices: Use eco-friendly detergents and line-dry cloth diapers to minimize environmental impact.
Travel Diapering Tips
- Pack a Diaper Bag: Include enough diapers for the trip, wipes, diaper cream, a portable changing pad, extra clothes, and plastic bags for dirty diapers.
- Portable Changing Pad: A foldable, portable changing pad makes diaper changes on the go much easier and hygienic.
- Disposable vs. Cloth: While cloth diapers are great, disposables might be more convenient for travel. Consider using disposables if you’re going to be out for an extended period.
- Hand Sanitizer: Carry hand sanitizer for when soap and water aren’t available.
- Plan for Emergencies: Always pack a few more diapers than you think you’ll need to cover unexpected delays or messes.
Diaper Changing Basics and Hygiene
Supplies You’ll Need
- Diapers: Have a good supply of disposable or cloth diapers on hand.
- Wipes: Baby wipes are essential for cleaning. Choose sensitive or hypoallergenic wipes to avoid irritation.
- Diaper Cream: To prevent and treat diaper rash.
- Changing Pad: A clean, safe surface for changing diapers.
- Hand Sanitizer: To use before and after changes if you don’t have immediate access to soap and water.
How to Change a Diaper
- Prepare: Gather all supplies and have them within reach.
- Lay Baby Down: Place your baby on the changing pad.
- Remove Dirty Diaper: Undo the dirty diaper, lift your baby’s legs, and slide the diaper out. Use the front part of the diaper to wipe off excess mess.
- Clean Baby: Use wipes to thoroughly clean your baby’s diaper area, front to back. Ensure all creases and folds are clean.
- Apply Diaper Cream: If necessary, apply a thin layer of diaper cream to prevent or treat diaper rash.
- Put on Clean Diaper: Slide a clean diaper under your baby, ensuring it’s snug but not too tight. Fasten the tabs.
- Dispose: Dispose of the dirty diaper properly. For cloth diapers, place them in a diaper pail until wash day.

Dealing with Diaper Rash: Prevention and Treatment
Prevention
- Frequent Changes: Change diapers frequently to keep your baby dry and clean.
- Allow Air Time: Give your baby some diaper-free time each day to allow their skin to breathe.
- Use Barrier Creams: Apply a barrier cream like zinc oxide during each change to protect your baby’s skin.
- Choose the Right Diapers: Ensure diapers fit well and are not too tight, which can cause chafing and irritation.
Treatment
- Clean Gently: When diaper rash occurs, clean the area gently and avoid rubbing.
- Use Diaper Creams: Apply a thicker layer of diaper rash cream to help soothe and heal the skin.
- Frequent Changes: Change diapers even more frequently to keep the area dry.
- See a Doctor: If the rash persists or worsens, consult your pediatrician. Sometimes, rashes can be due to infections that need medical treatment.
Weekly Diapering Chart
Week | Diapers per Day | Total Diapers per Week |
1 | 10-12 | 70-84 |
2 | 10-12 | 70-84 |
3 | 10-12 | 70-84 |
4 | 10-12 | 70-84 |
5 | 8-10 | 56-70 |
6 | 8-10 | 56-70 |
7 | 8-10 | 56-70 |
8 | 8-10 | 56-70 |
9 | 6-8 | 42-56 |
10 | 6-8 | 42-56 |
11 | 6-8 | 42-56 |
12 | 6-8 | 42-56 |
Tips and Considerations
Diaper Size
- Regular Check: Babies grow quickly, so regularly check to ensure the diapers still fit properly. Diapers that are too small can cause leaks and discomfort.
- Signs of Size Up: If the diaper is too tight or you notice red marks on your baby’s skin, it’s time to move up to the next size.
Overnight Diapering
- Extra Absorbent Diapers: Consider using overnight diapers that are more absorbent to keep your baby dry throughout the night.
- Limit Fluids: If your baby is old enough, try to limit fluids close to bedtime to reduce the need for overnight changes.
Cloth Diaper Care
- Pre-Wash Routine: Rinse soiled diapers before storing them in a diaper pail.
- Washing: Use a cloth diaper-safe detergent and wash in hot water to kill bacteria. Avoid fabric softeners and bleach, as they can affect absorbency.
- Sun Drying: Line-dry cloth diapers in the sun whenever possible. The sun naturally whitens and disinfects.
Diaper Bag Essentials
- Diapers: Pack enough diapers to last the duration of your outing, plus a few extras.
- Wipes: Travel-sized packs of baby wipes are convenient and essential for cleaning up messes.
- Changing Pad: A portable changing pad provides a clean surface for diaper changes on the go.
- Plastic Bags: Bring a few plastic bags for storing soiled diapers and clothes.
- Extra Clothes: Always have at least one change of clothes for your baby in case of accidents.
- Hand Sanitizer: Useful for cleaning your hands when soap and water aren’t available.
Diapering for Sensitive Skin
- Hypoallergenic Products: Choose diapers, wipes, and creams that are labeled hypoallergenic and free of fragrances and dyes to minimize skin irritation.
- Frequent Changes: Change your baby’s diaper frequently to prevent prolonged exposure to moisture, which can cause irritation.
- Pat Dry: After cleaning, pat your baby’s bottom dry with a clean cloth before putting on a new diaper.
Nighttime Diapering Tips
- Minimize Disturbance: Use a nightlight for nighttime diaper changes to keep the environment calm and avoid fully waking your baby.
- Prepare Ahead: Have all your diapering supplies within reach to make nighttime changes quick and efficient.
- Double Up: For heavy wetters, consider using a diaper booster pad for extra absorbency to reduce the need for overnight changes.
Common Diapering Issues and Solutions
- Blowouts: If your baby experiences frequent blowouts, it might be a sign to move up to the next diaper size or try a different brand.
- Leaking: Ensure the diaper fits snugly around the legs and waist without being too tight. Check for proper placement of the diaper tabs.
- Diaper Rash: If diaper rash persists despite regular changes and creams, consider switching diaper brands or consulting your pediatrician for advice.
Cloth Diaper Accessories
- Diaper Liners: Disposable or reusable liners make it easier to clean up solid waste and protect the diaper from stains.
- Wet Bags: Waterproof bags are great for storing soiled cloth diapers when you’re out and about.
- Diaper Sprayers: Attach to your toilet to make rinsing soiled diapers easier and more sanitary.
Diapering is an essential part of caring for your baby, and while it may seem overwhelming at first, it quickly becomes a routine task. By understanding the different diapering options, mastering diaper-changing techniques, and being prepared for common challenges, you can ensure your baby stays comfortable and happy. Remember, each baby is unique, so be patient and flexible as you find the methods and products that work best for you and your little one.
Embrace this time with your baby, knowing that every diaper change is an opportunity to bond and care for your precious bundle of joy. Happy diapering!